How to Add a Single or Multi-date Event to Calendar
Follow the steps below to create an Artist profile listing in the Artists Directory.
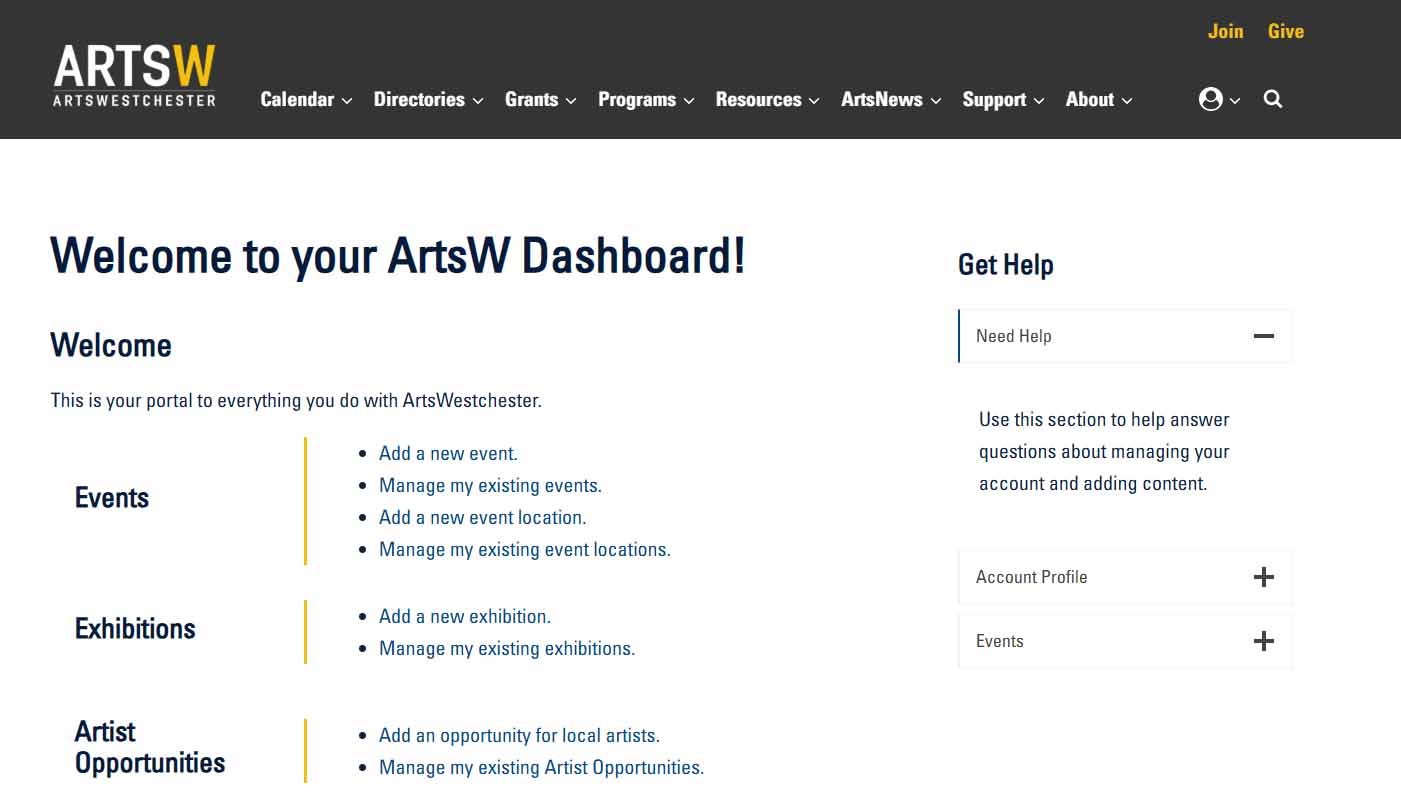
Log in to view your Welcome dashboard
The account login icon is on the right side of the navigation.
Click on “Add a new event” in the Events section
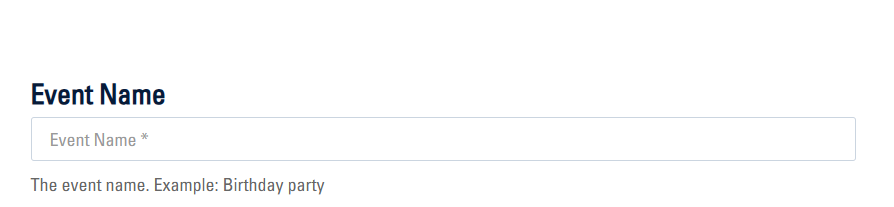
Enter a name for the event in the “Event Name” field.
Date & Time Field for Different Event Scenarios
The following are instructions for different event scenarios: (A) a single event that only occurs once, (B) recurring events on a set interval with same start and end times, (C) multiple specific dates with the same start and end times, and (D) multiple dates with varying start and end times.
A
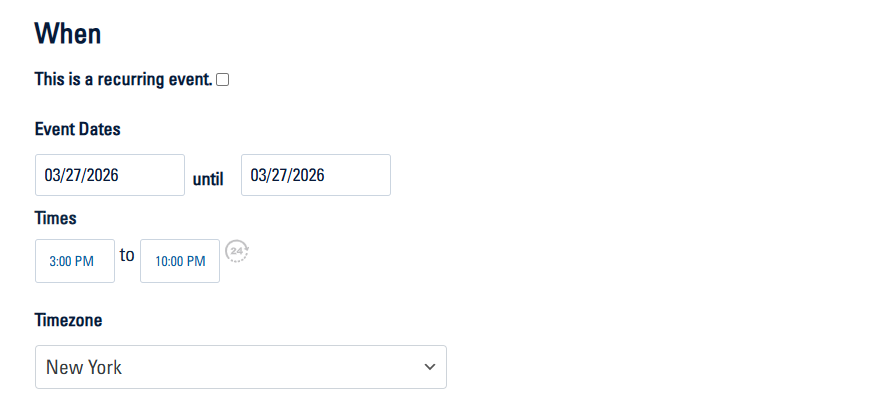
Single Event:
Select the event date from the calendar. The start and end dates will be the same.
Times: Enter the start and end time
Proceed to the “Event Details” section.
B
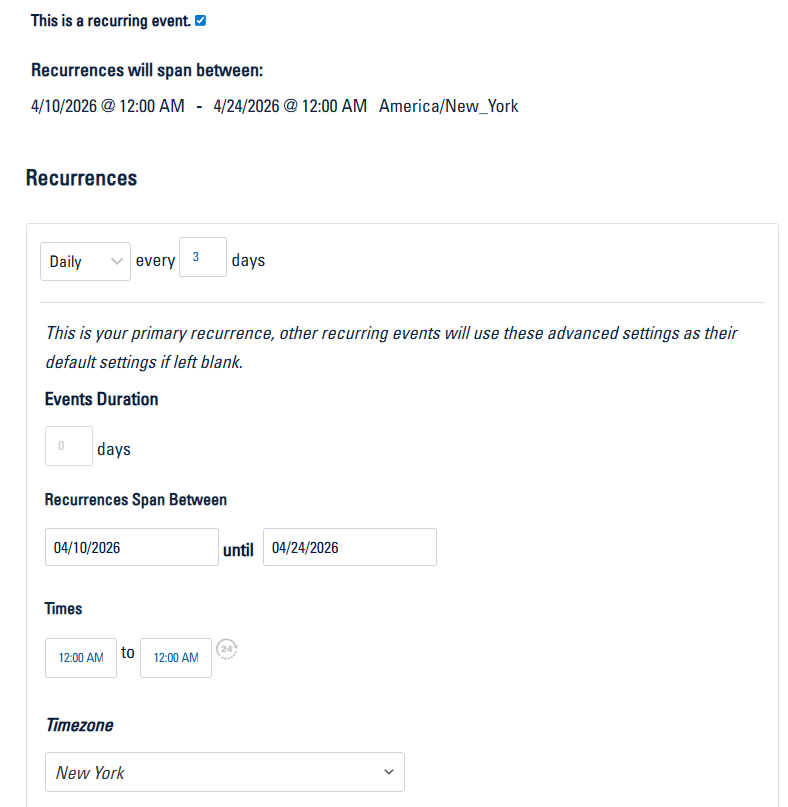
Regularly recurring events, with same start and end time:
Example: every 7 days from 3pm to 6pm for 6 weeks)
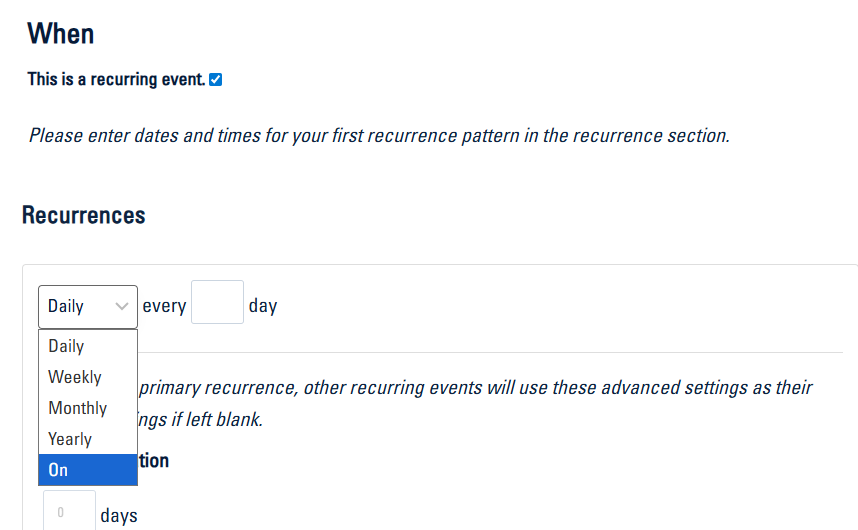
- Check the “This is a recurring event” box.
- Select the recurrence interval, (ex. Daily every 3 days). *See below for more examples.
- Events Duration: 0 days.
- Recurrences Span Between: Enter the dates of the first and last event in the series.
- Times: enter the start and end times.
Proceed to the “Event Details” section.
*More examples
Every Tues:

Every second Saturday of the month:

C
Multiple specific dates with same start and end times:
Example: 4/10 – 4/12 and 4/17, from 3pm to 6pm)
- Check the “This is a recurring event” box.
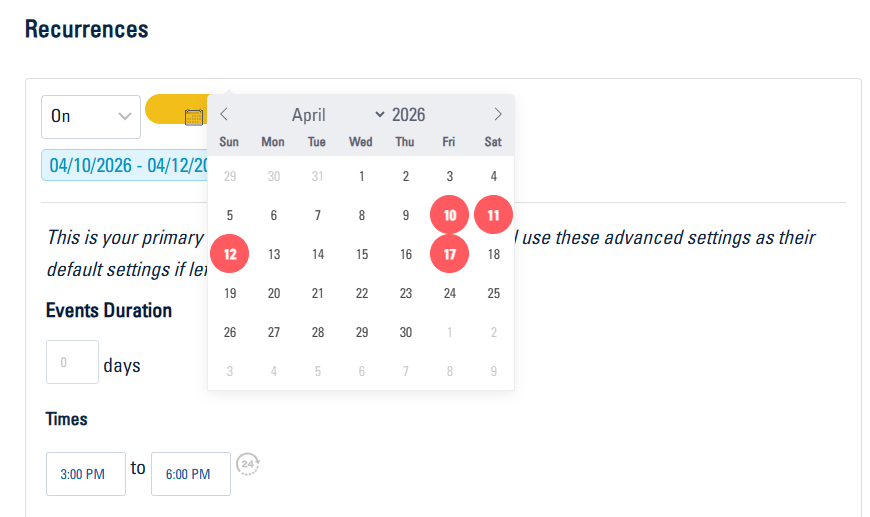
- In the Recurrences dropdown, select “On“
- Click “Add Dates” button and choose the multiple event dates.
- Enter the start and end times.
Proceed to the “Event Details” section.
C: Steps 1 & 2:
C: Steps 3 & 4:
D
Multiple specific event dates with varying start and end times:
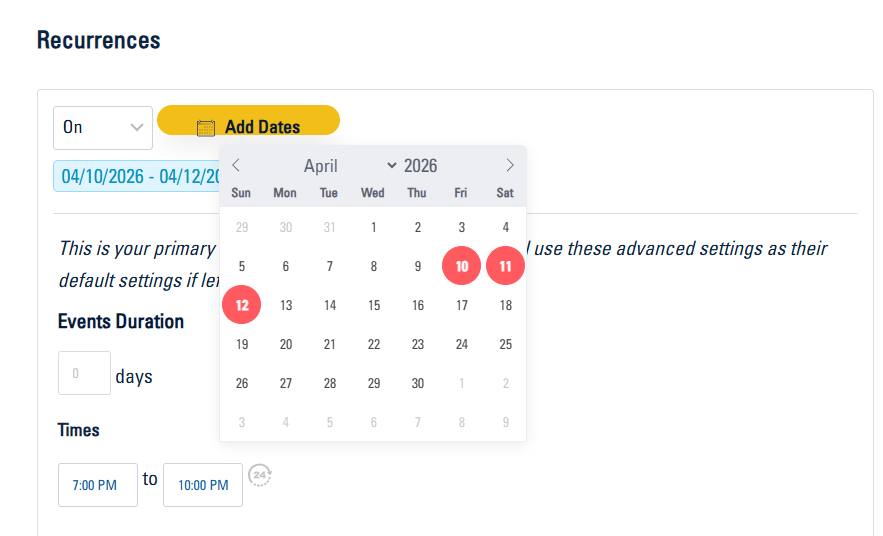
Example: 4/10 – 4/12, from 7pm to 10pm and 4/18 from 3pm to 6pm)
- Follow scenario C steps 1-4 above for the events with the same start and end times (Ex. 4/10 – 4/12 from 7pm to 10pm).
D: Step 1
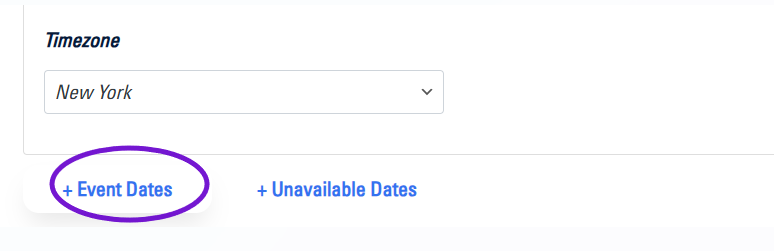
- Click on “+ Event Dates” and specify the dates. The times will default to the times set previousy.
D: Step 2:
- To override the default times, click on the filter icon to show advanced options.
D: Step 3:

- Check the “Override default times” box and enter the new event times.
Repeat Steps 2- 4 to add dates for events with different different start and end times, then proceed to the “Event Details” section.
D: Step 4:

Event Details
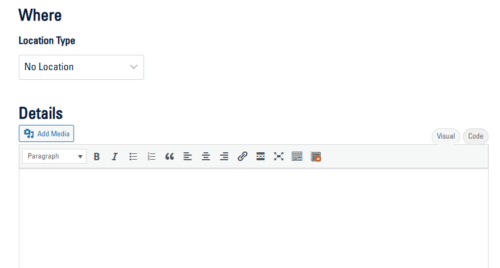
Where
Location Type: Select “Physical Location” from the dropdown and enter the physical address fields.
Details
Describe your event. It is not necessary to include details like date, time, location or price.
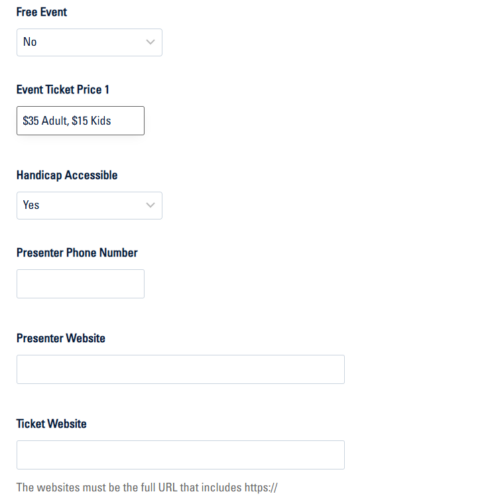
Pricing, Tickets & Presenter Info
Free Event: If event is not free, select “No” from the dropdown and enter the ticket price.
Complete the remaining fields, ensuring that the links and contact info is correct.
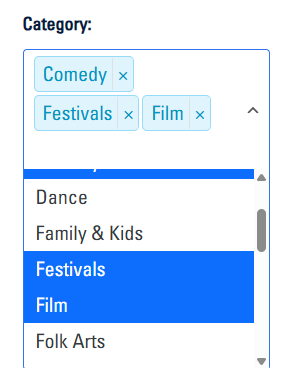
Category
Choose the category that most accurately reflects the event, up to 3 is recommended.
When you are finished, click the “Submit Event” button